Creating Notifications
Add notification widgets to your campaigns with customizable content, triggers, targeting, and styling.
Add a notification to a campaign
Open your campaign
From the Campaigns page, click on the campaign where you want to add a notification. You'll see the campaign detail view with a Notifications tab.
Click Create notification
Click the Create notification button. You'll see a grid of available notification types. Types that aren't included in your plan are marked and require an upgrade.
Choose a type
Select the notification type that fits your use case. For example:
- Informational for announcements and promotions
- Email Collector to capture leads
- Conversions for social proof purchase alerts
- Emoji Feedback to gather visitor reactions
Configure the notification
The notification editor has three sections:
Settings — Content and appearance options specific to the notification type (title, description, colors, images, etc.). A live preview updates as you make changes.
Data — For notification types that collect information (email collectors, feedback, request forms), this tab shows the submitted data.
Statistics — Track impressions, clicks, hovers, and form submissions for this specific notification.
Settings breakdown
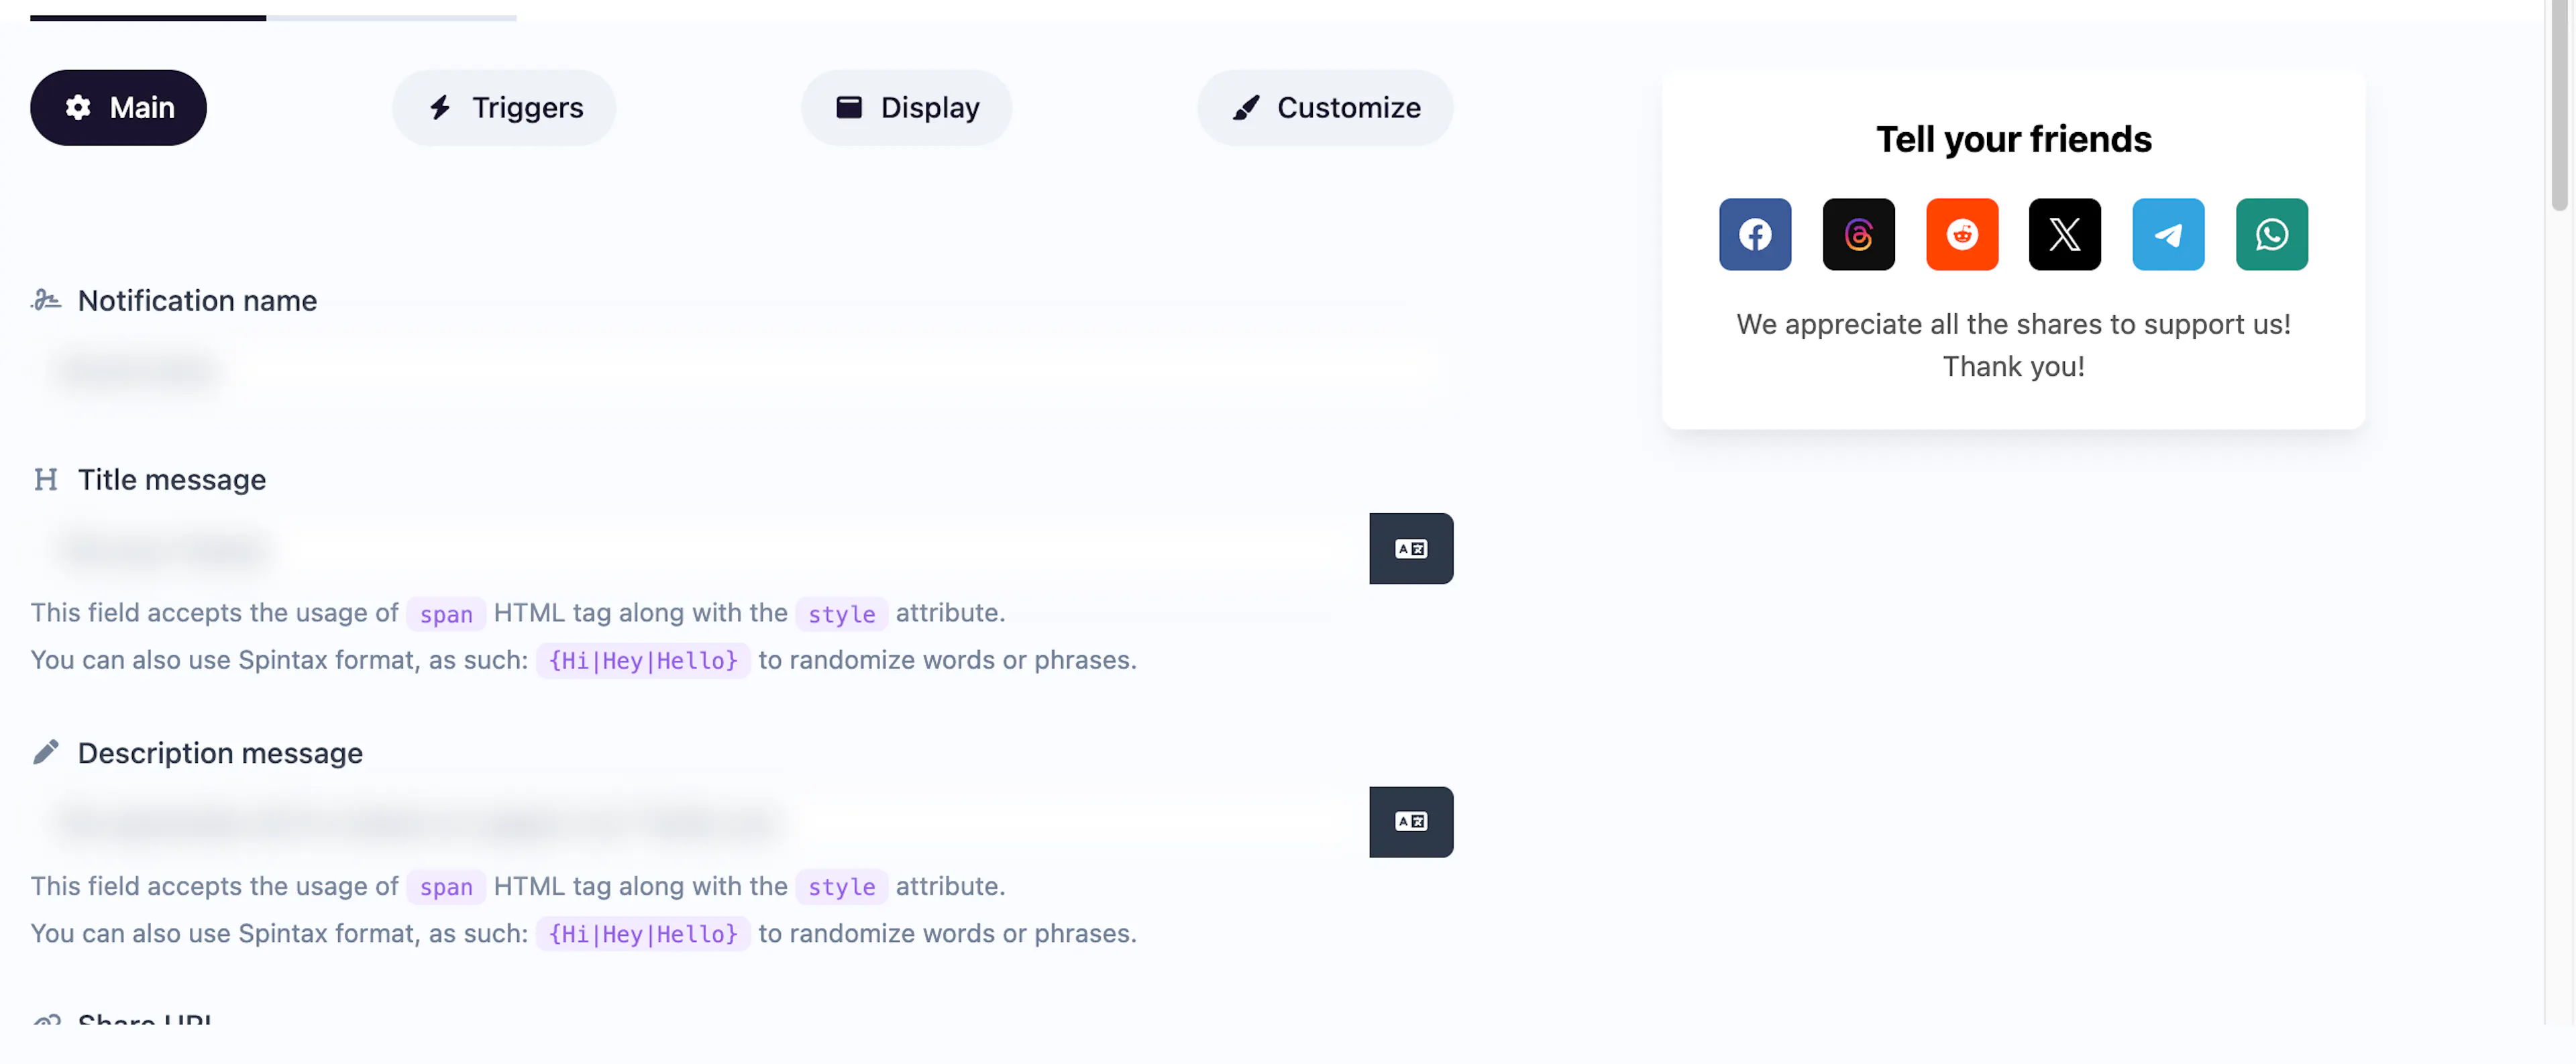
Content
Each notification type has its own content fields. Common ones include:
- Title and Description — The text shown in the popup
- Image — An optional icon or photo
- URL — Where the notification links to when clicked
- Colors — Background, text, border, and shadow colors (with separate dark mode variants)
Display rules
Control when and how the notification appears:
| Setting | Options |
|---|---|
| Trigger | Time delay, time on site, pageviews, scroll depth, exit intent, element click, element hover, user inactivity |
| Display duration | How long the notification stays visible (in seconds), or indefinite |
| Frequency | Every visit, once per session, or once per browser (remembered permanently) |
| Delay after close | How long to wait before showing again after a visitor closes it |
| Close button | Toggle the close button on or off |
Targeting
Narrow down which visitors see the notification:
| Filter | Description |
|---|---|
| Pages | Show on all pages, or specify URL patterns to include/exclude |
| Devices | Mobile, desktop, or both |
| Browsers | Chrome, Firefox, Safari, Edge, etc. |
| Operating systems | Windows, macOS, iOS, Android, Linux, etc. |
| Locations | Filter by continent, country, or city |
| Languages | Match the visitor's browser language |
| Schedule | Set start and end dates for time-limited campaigns |
Appearance
Fine-tune the visual presentation:
- Position — Where on screen the notification appears
- Border radius — Straight, rounded, or fully circular corners
- Shadow — None, subtle, feather, 3D, or layered
- Border width — 0 to 5 pixels
- Font — Inherit from page, or choose from 18 web-safe fonts
- Animations — Entrance animation, exit animation, and repeating attention animation (with configurable interval)
- Custom CSS — Write your own styles for complete control
- Text direction — LTR or RTL
Notification handlers
You can attach one or more notification handlers to a notification. When a visitor interacts (e.g., submits a form), the data is forwarded to all attached handlers.
Managing notifications
From the campaign detail page, you can:
- Enable/disable — Toggle individual notifications on or off
- Duplicate — Copy a notification's settings to create a similar one
- Reset statistics — Clear all tracked data for a notification
- Delete — Remove the notification permanently
Use the Duplicate action to quickly create variations of a notification with different targeting rules or content.